
How to Set Up Airtable Automations for Seamless Job Tracking
Understanding Airtable Automations
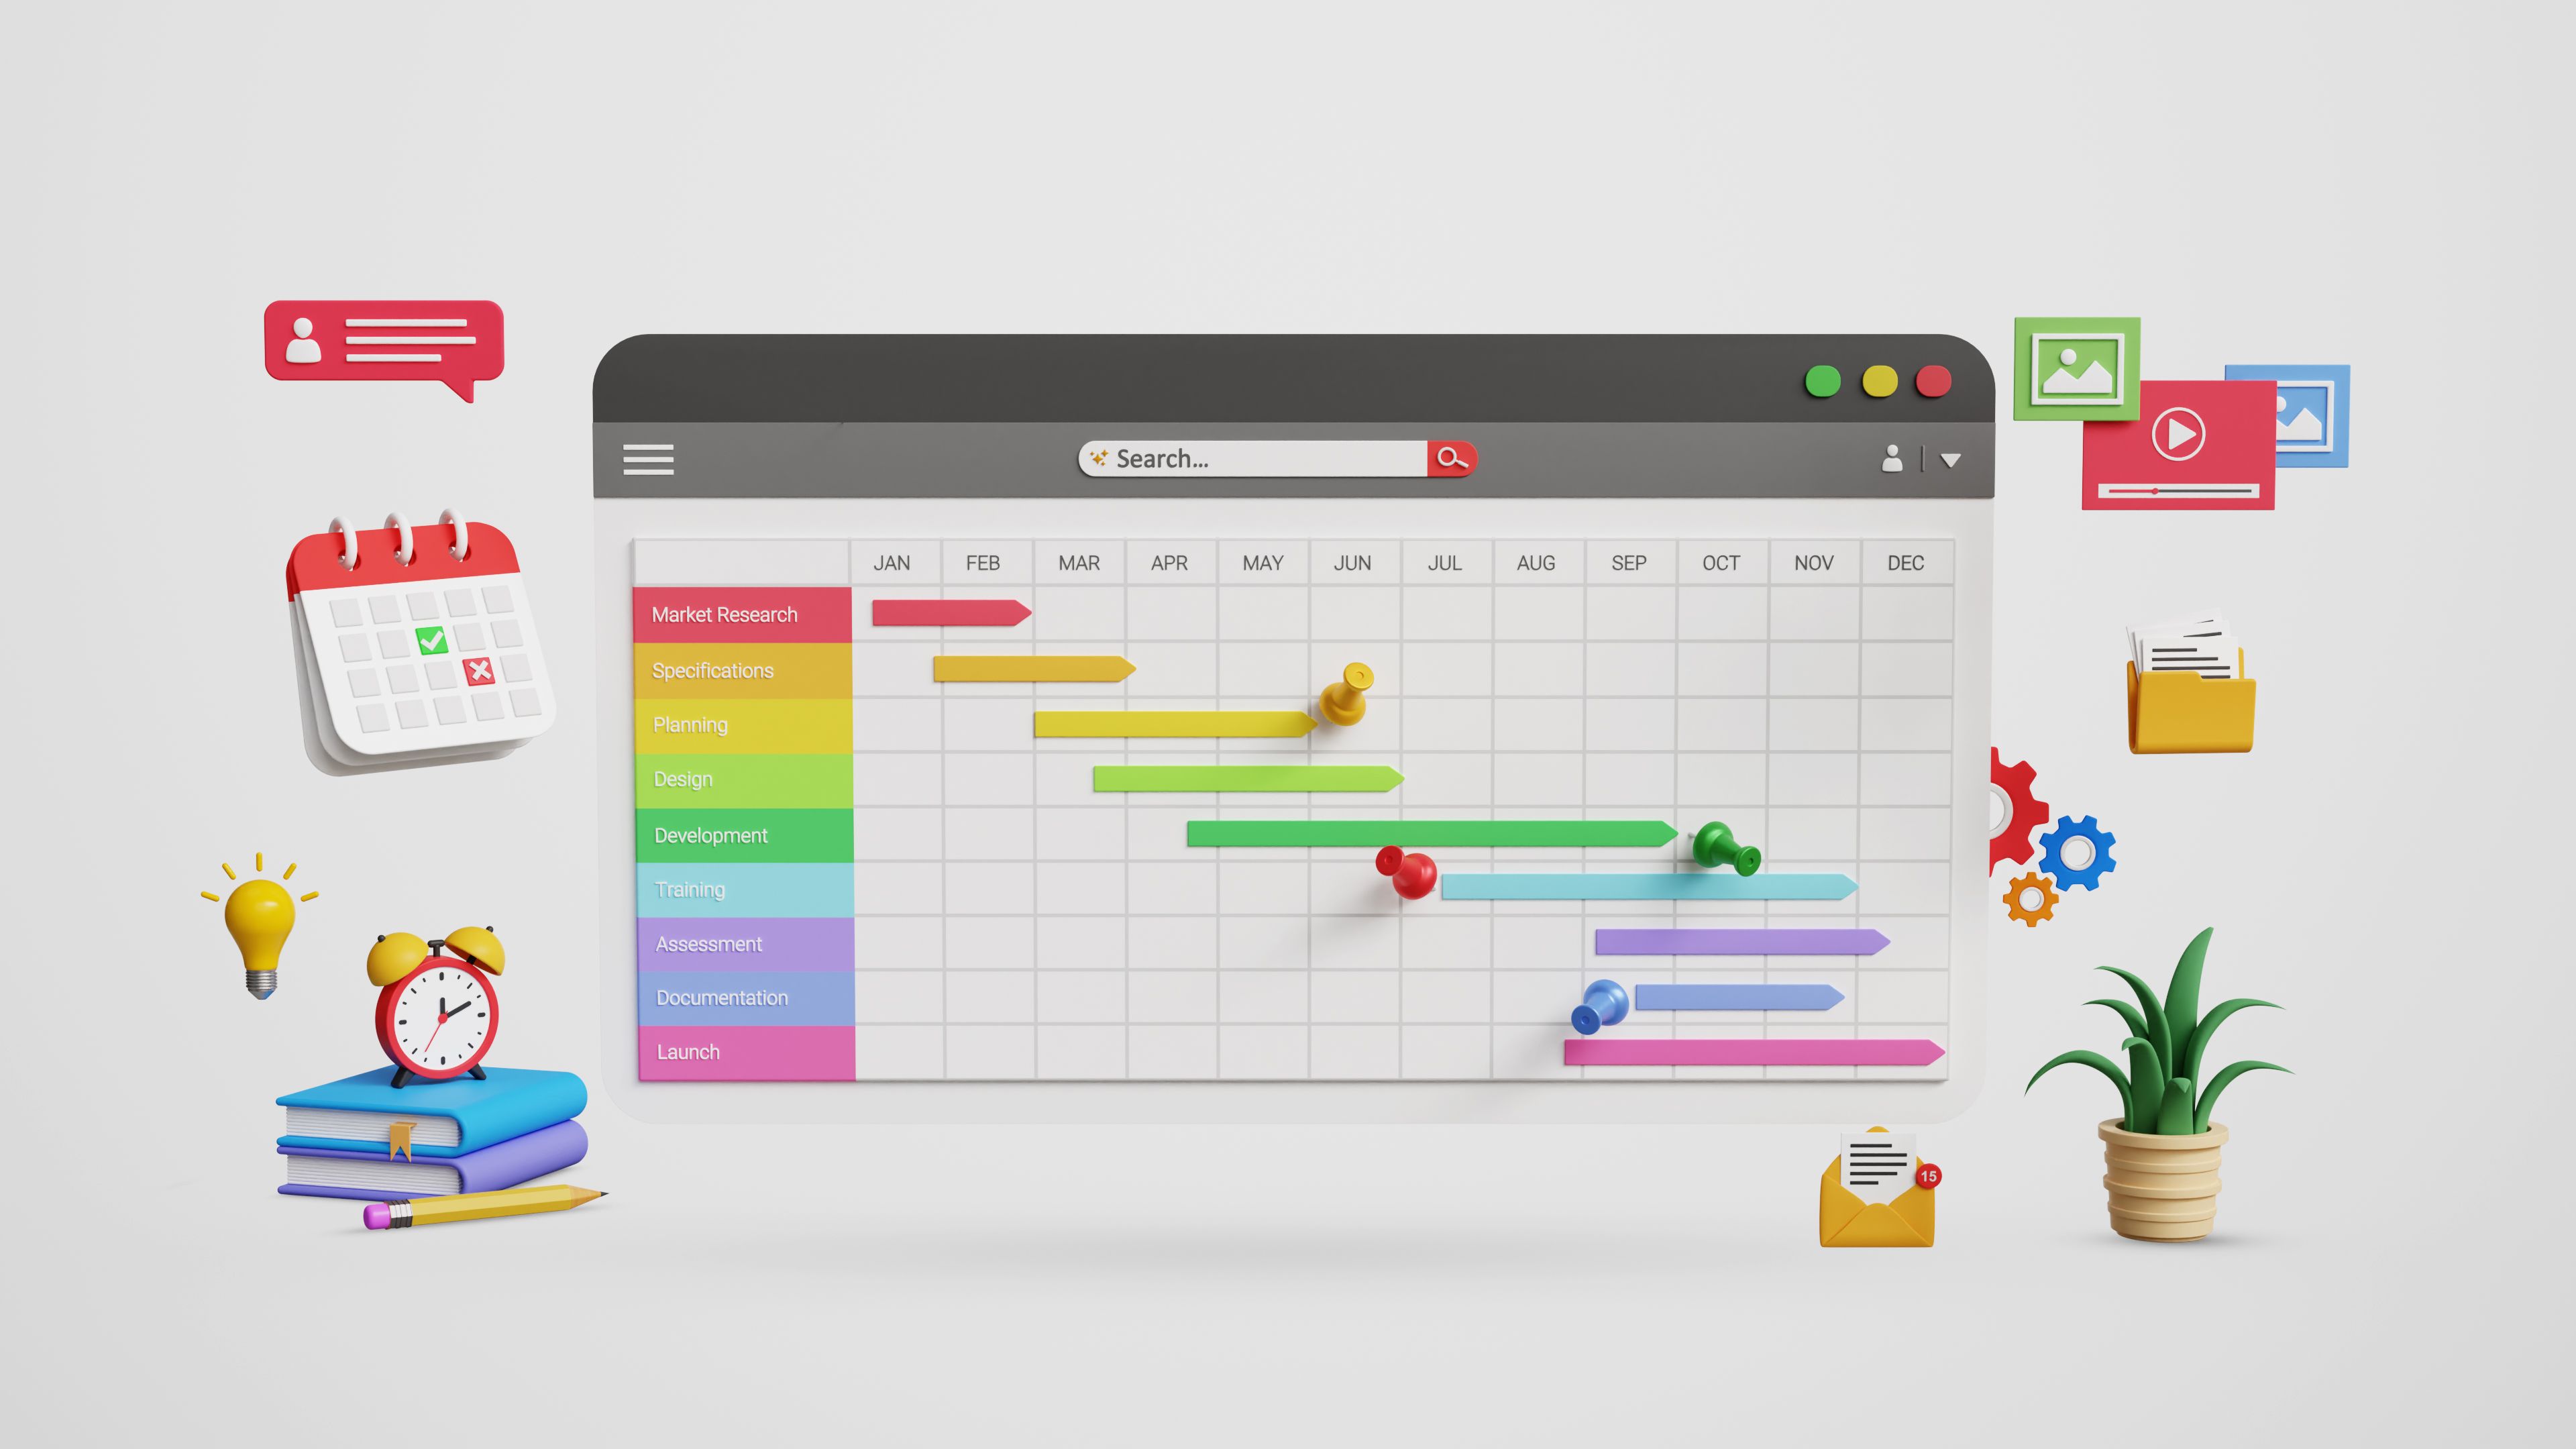
Airtable is an incredibly versatile tool that combines the simplicity of a spreadsheet with the power of a database. One of its standout features is automations, which allow users to streamline processes by automating repetitive tasks. For teams managing job tracking, setting up Airtable automations can significantly enhance productivity and accuracy.
Automations in Airtable can trigger a variety of actions such as sending notifications, updating records, or even integrating with external services. By automating these tasks, teams can ensure that important updates are never missed, and that data remains consistent across all platforms.
Getting Started with Automation Setup
Before jumping into creating automations, it's crucial to have a clear understanding of the workflow you want to automate. This involves identifying repetitive tasks that consume time and could benefit from automation. With job tracking, this might include updating status fields when certain conditions are met or sending reminders for upcoming deadlines.
Once you have a clear goal in mind, navigate to the "Automations" tab within your Airtable base. Here, you'll find options to create new automations. Start by selecting a trigger, which is an event that initiates the automation. Common triggers include when a record is created or updated.
Choosing the Right Actions
After setting up a trigger, the next step is to define what action should occur when the trigger event happens. Airtable offers a range of actions such as sending an email, updating records, or sending a notification via Slack. For job tracking, actions might include notifying the team when a job status changes or updating a client record when a task is completed.

To ensure seamless integration with other tools your team uses, consider using Airtable's built-in integrations with services like Gmail, Outlook, and Slack. This can help keep everyone in the loop without requiring manual updates.
Testing and Refining Your Automations
Once you’ve set up your automation, it’s essential to test it to ensure it works as expected. Airtable provides a testing feature that allows you to simulate the trigger event to see if the action executes correctly. This step is crucial in identifying any potential issues before the automation goes live.
During testing, pay attention to any errors or unexpected behaviors. It may be necessary to tweak conditions, adjust actions, or even rethink the initial trigger if the automation isn’t performing as intended. Remember that refinement is part of creating effective automations.

Leveraging Advanced Features
As you become more comfortable with basic automations, explore Airtable's advanced features such as conditional logic and multi-step automations. These can help tailor automations more precisely to your job tracking needs. For instance, you might set conditions that only trigger an action if specific criteria are met, such as job priority or project deadlines.
By leveraging these advanced features, teams can create comprehensive workflows that adapt to complex job tracking scenarios. This not only saves time but also reduces the risk of human error and ensures consistency across projects.
Maintaining and Optimizing Automations
Finally, it's important to regularly review and optimize your automations. As your team's needs evolve, so too should your automations. Regularly revisiting them can uncover opportunities for improvement or reveal new processes that could benefit from automation.
Encourage feedback from team members who interact with these automations daily. Their insights can be invaluable in identifying areas for enhancement and ensuring that the automations remain aligned with team objectives.
In conclusion, setting up Airtable automations for job tracking can revolutionize how teams manage their workflows. By investing time in understanding and implementing these tools effectively, businesses can achieve greater efficiency and accuracy in their operations.